


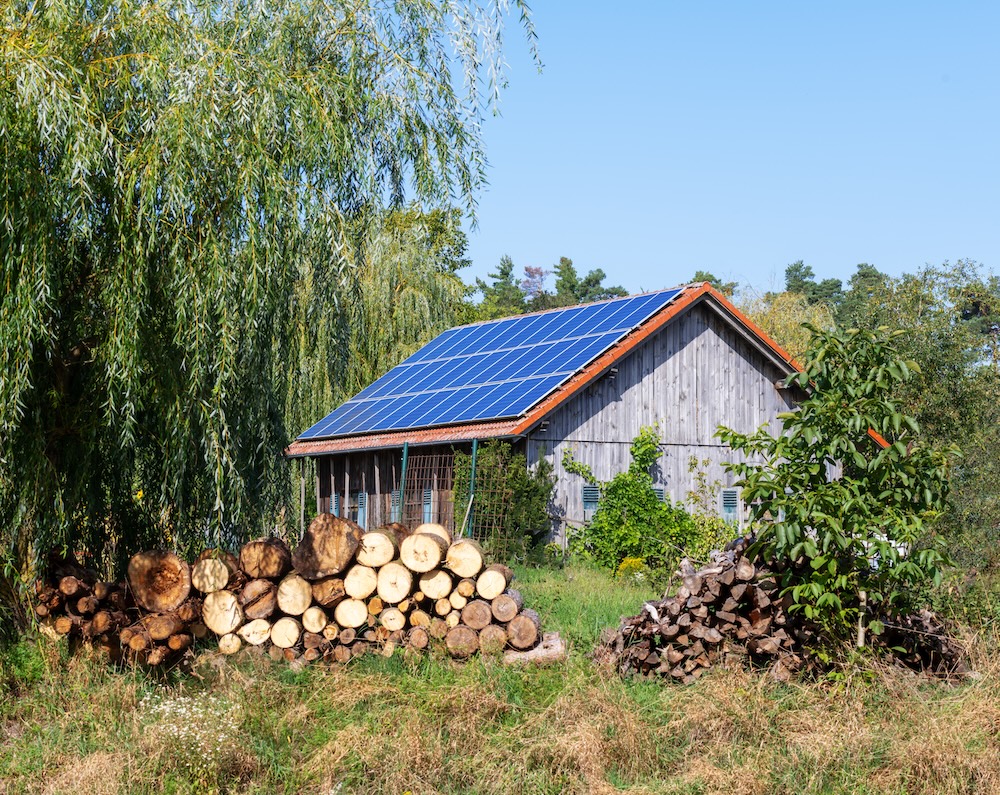
A solar-powered shed is more than a weekend project—it’s a gateway to sustainable, independent living. Whether you’re creating a garden workspace, tool charging station, home office, or tiny retreat, installing an off-grid solar system brings light, power, and efficiency where you need it most—without digging trenches or relying on the utility grid.
This guide walks you through everything you need to know to design and build your own off-grid solar shed—from planning and equipment to installation and cost-saving tips.
Why Go Solar in Your Shed?
Adding solar power to your shed has clear advantages:
- No electricity bills or costly utility hookups
- Portable, renewable energy that reduces emissions
- Independence for remote locations or emergencies
- Enhanced functionality for workshops, garden rooms, or greenhouses
Whether you’re off-grid by necessity or choice, a solar-powered shed keeps things simple, clean, and cost-effective.
What You Can Power with a Solar Shed
Depending on your setup, you can power:
- LED lighting
- Power tools and battery chargers
- Fans or ventilation
- Laptops or Wi-Fi routers
- Grow lights or small heaters
- Refrigerators or freezers (with larger setups)
Choose your system size based on what you want to run daily and how long you’ll need it.
Step 1: Assess Your Energy Needs
Before buying anything, calculate how much energy you’ll use.
Make a list of:
- Devices you’ll power (e.g., LED bulbs, laptop, drill charger)
- Wattage of each item
- Estimated daily use in hours
Example:
- 1 LED bulb (10W) × 4 hrs = 40Wh/day
- Laptop (60W) × 3 hrs = 180Wh/day
- Drill charger (100W) × 1 hr = 100Wh/day
Total = ~320Wh/day
This total tells you how much energy your solar system must produce and store.
Step 2: Choose Your Solar Equipment
Here’s a basic breakdown of what you’ll need:
Solar Panels
Convert sunlight into electricity.
- Size: Most DIY sheds use 100W–400W panels
- Number: Depends on your daily usage and sun hours (2–6 hours typical)
- Mounting: Roof-mounted or pole-mounted with tilt for optimal angle
Charge Controller
Regulates electricity flow to the battery, preventing overcharging.
- Type: MPPT (maximum power point tracking) is more efficient than PWM
- Sizing: Should match panel voltage and amperage
Deep-Cycle Batteries
Store energy for use at night or during cloudy weather.
- Types: Lithium-ion (longer life, higher cost) or AGM/lead-acid (cheaper, heavier)
- Capacity: Measured in amp-hours (Ah) or watt-hours (Wh)
Inverter
Converts DC battery power into standard 120V AC power for tools and appliances.
- Pure sine wave preferred for electronics
- Size: Match to your peak load (e.g., 500W–2,000W)
Optional: Solar Generator or Backup
For more portability or backup, a solar generator can provide a plug-and-play alternative or supplement.
Step 3: Build or Retrofit Your Shed
Whether building new or modifying an existing shed:
- Roof angle: Aim for 30–45° tilt toward the equator for optimal sun exposure
- Strength: Ensure your roof or mount can support panel weight (~15–40 lbs each)
- Wiring access: Drill clean pass-throughs for wires entering the shed
Use weatherproof conduit and proper mounting brackets for safety and durability.
Step 4: Install the System
Here’s a simplified order of operations:
- Mount solar panels securely on the roof or frame
- Connect panels to the charge controller using solar-rated cables
- Hook the controller to your battery bank
- Connect the inverter to your batteries (observe correct polarity!)
- Add fuses, switches, and shut-offs for safety and future expansion
- Test your system with light loads first before full operation
If you’re unsure about any step, consult a licensed solar technician.
Step 5: Monitor and Maintain
Keep your system running smoothly with simple routines:
- Clean panels every 2–3 months (more often in dusty areas)
- Check battery health and fluid levels (for lead-acid types)
- Monitor output and usage with a solar charge display or app
- Protect batteries from freezing and overheating with insulation or ventilation
Off-Grid Shed Cost Breakdown
| Component | Estimated Cost |
|---|---|
| Solar Panels (200–400W) | $150–$600 |
| MPPT Charge Controller | $100–$250 |
| Deep-Cycle Battery (100Ah–200Ah) | $200–$800 |
| Pure Sine Wave Inverter | $100–$300 |
| Mounts, Wiring, Fuses | $100–$300 |
| Total Estimate | $650–$2,000 |
DIY setups often pay for themselves in 2–4 years compared to running underground electrical or using gas generators.
FAQs About Solar Sheds
Can I install solar on any shed?
Yes, as long as your roof gets enough sunlight and can hold the panels.
Do I need a permit?
Usually not for small, off-grid systems. Check with your local building department if in doubt.
How long does it take to install?
Most DIYers complete installation in a weekend or two, depending on complexity.
Will my tools work with a solar system?
Yes, if you size your inverter and battery bank to match their wattage requirements.
Can I expand later?
Absolutely—solar setups are modular. You can add panels, batteries, or inverters as your needs grow.
Final Thoughts: Build Your Energy Freedom, One Watt at a Time
An off-grid solar shed is more than just a structure—it’s a step toward autonomy, sustainability, and a more mindful relationship with energy. Whether you’re using it to power tools, start seedlings, or write your next novel in peace, you’ll be fueled by the sun—and that’s a beautiful thing.