


How to Create a Truly Eco-Friendly Compost System at Home
Creating your own compost bin doesn’t have to cost a thing—or harm the planet. With just a few repurposed materials, you can build a highly effective, eco-friendly compost system right at home. Whether you live in an apartment or have a backyard, building your own bin is a sustainable solution that reduces waste, supports your garden, and saves money.
In this guide, we’ll walk you through several easy ways to build a compost bin using recycled and upcycled materials, plus tips for ventilation, drainage, size, and placement — all without introducing harmful microplastics into your soil.
Why Build a DIY Compost Bin?
A store-bought compost bin can cost $50–$300 or more, but building your own offers several benefits:
- Low or no cost using items you already have
- Custom sizing for your space
- Reduces landfill waste by repurposing old materials
- Fully compostable results with minimal environmental impact
- Creative and satisfying for DIYers and sustainability lovers
From wooden pallets to old metal barrels, your compost bin can be as simple or advanced as you like.
Essential Features of Any Compost Bin
Before you build, keep in mind that every compost bin needs:
- Good airflow (oxygen fuels decomposition)
- Adequate moisture control (drainage + evaporation)
- Access for turning the compost regularly
- A lid or cover (optional but helpful for rain/pests)
- At least 3x3x3 feet for best microbial activity (for outdoor piles)
Let’s explore some of the best DIY bin options using safe, non-toxic, and sustainable materials.
Option 1: Pallet Compost Bin
Best for:
Backyards, gardens, or homesteads
Materials:
- 3 to 4 untreated wooden pallets
- Nails or heavy-duty zip ties
- Optional: hinges for access door or a tarp for cover
Instructions:
- Stand three pallets upright to form a U shape
- Attach them together at the corners using nails or ties
- Add a fourth pallet for the front if desired (hinge it for access)
- Optional: lay cardboard or wire mesh on the bottom to deter pests
- Leave open or add a tarp cover
Benefits:
- Super sturdy
- Plenty of airflow
- Easy to scale for large volumes
- Ideal for active turning and layered composting
Option 2: Repurposed Bin (Plastic-Free Alternatives)
Best for:
Small yards, patios, balconies
Materials:
- Repurposed metal bin, ceramic crock, or wooden barrel with a lid
- Drill
- Bricks or wood blocks for elevation
Instructions:
- Drill small holes around the bottom and sides for airflow and drainage
- Place on bricks to raise off the ground
- Add alternating layers of greens and browns
- Secure lid and turn contents weekly by stirring or shaking
Benefits:
- Durable and rodent-proof
- Great for beginner composters or tight spaces
- Avoids microplastic leaching from aging or sun-exposed plastic bins
Important Note: If using plastic, it must be food-grade, UV-resistant, and in excellent condition — and even then, it’s a short-term solution.
Option 3: Stacked Milk Crates
Best for:
Urban composters, renters, balconies
Materials:
- 2–3 sturdy milk crates
- Old window screen or breathable fabric
- Zip ties or bungee cords
Instructions:
- Line the inside of each crate with mesh or screen to hold materials in
- Stack the crates and secure with ties
- Add compost materials to the top, allowing it to settle downward
- Rotate top-to-bottom crates every few weeks
Benefits:
- Vertical, modular, and lightweight
- Great airflow
- Ideal for small households
Option 4: Wire Mesh or Hardware Cloth Bin
Best for:
Garden corners, rural settings
Materials:
- 10–12 feet of hardware cloth or chicken wire
- Wire cutters and gloves
- Fence posts or stakes
Instructions:
- Form the mesh into a circle or square
- Secure with wire or twist ties
- Use stakes or rebar to anchor the structure
- Fill with compost materials and turn by hand or with a pitchfork
Benefits:
- Excellent airflow
- Simple to construct and move
- Durable and rust-resistant when galvanized
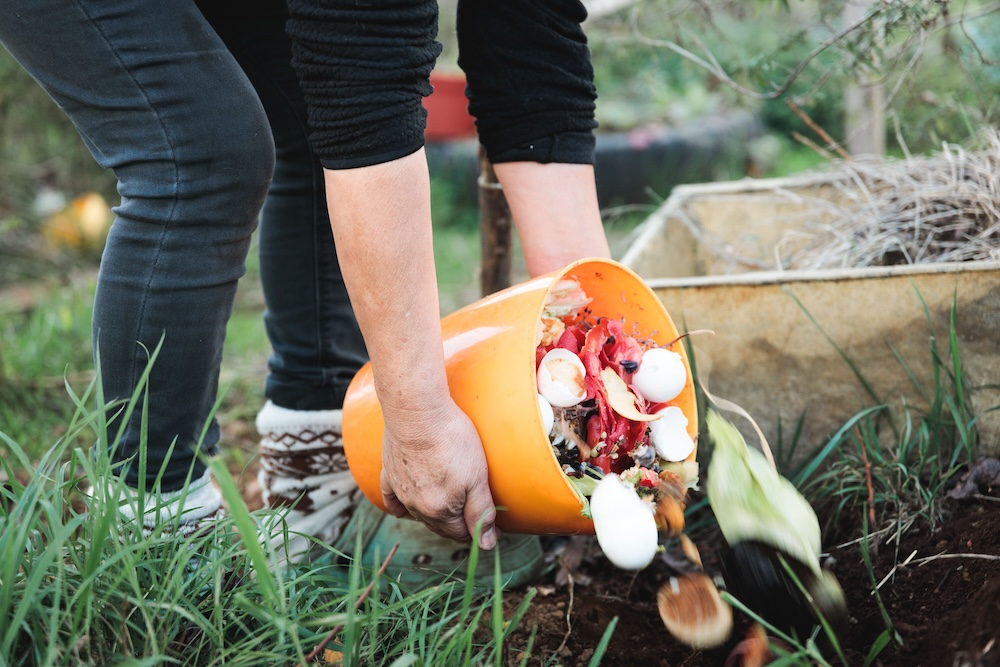
Option 5: Bucket Compost System (Plastic-Free or Food-Safe Only)
Best for:
Indoor composters, small-space composting
Materials:
- 2 food-grade 5-gallon buckets with lids (glass or metal preferred where possible)
- Drill
- Optional: charcoal filter or Bokashi bran for odor
Instructions:
- Drill holes in one bucket for drainage and aeration
- Place inside second bucket to catch moisture
- Add scraps and browns in alternating layers
- Cover tightly; stir or shake occasionally
- Empty into an outdoor pile or garden when full
Benefits:
- Compact and portable
- Works well in apartments
- Can be adapted for Bokashi or vermicomposting
Note: Be cautious using old plastic buckets long-term — especially those not labeled food-safe. Over time, they can break down and contaminate your compost.
Tips for Building a Sustainable Compost Bin
- Use non-toxic, untreated wood to avoid leaching chemicals into your soil
- Avoid pressure-treated lumber and plastic containers unless verified food-grade and intact
- Choose natural materials like metal, wood, or ceramic whenever possible
- Salvage locally: Check Freecycle, Craigslist, or local buy-nothing groups
- Label your bin if it’s in a shared space (to prevent misuse)
- Compost responsibly: Avoid adding meat, dairy, or oils unless you’re using a system that supports them
How to Use Your DIY Bin
Once built, here’s how to maintain your compost bin:
- Add materials in layers: 2–3 parts browns to 1 part greens
- Turn or mix weekly to aerate
- Monitor moisture: Aim for a damp, sponge-like feel
- Harvest finished compost from the bottom or oldest layers
- Let it cure: Before using, let finished compost sit for 2–3 weeks
FAQs About DIY Compost Bins
Can I build a compost bin with only one type of material?
Yes! A single-material bin (like all pallets or all metal) can work well if it allows for air, moisture, and access.
How long will a homemade bin last?
Wood bins may last 3–5 years; metal or ceramic bins can last much longer. Avoid bins made of soft plastic, which degrade quickly outdoors.
Do I need to add worms?
Not for outdoor bins—worms will find their way. For indoor bins, consider red wigglers for vermicomposting.
Can I compost in a cold climate with a DIY bin?
Absolutely. Just follow seasonal composting tips—insulate the bin, use a lid, and build up volume for heat retention.
How do I keep pests out?
Avoid meat, dairy, and cooked food. Use lids or mesh to block access, and always bury food scraps beneath browns.
Final Thoughts: Build Something That Feeds the Earth
Building your own compost bin is one of the most empowering and eco-friendly DIY projects you can take on. With just a few natural, non-toxic materials and a bit of creativity, you can turn everyday scraps into nutrient-rich compost — without compromising soil health through hidden microplastics.
No matter your space, budget, or skill level, there’s a compost bin design that works for you. Start small, think sustainably, and let your compost pile become a quiet but powerful act of environmental care.